Crafting a Charming Garden Planter from Old Logs
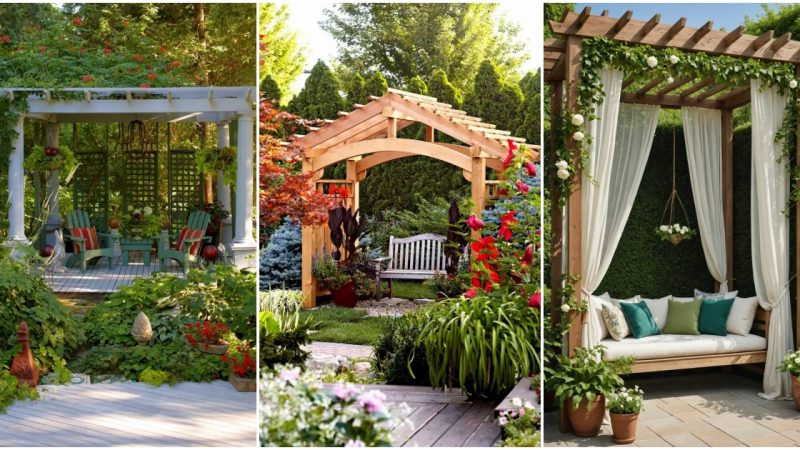
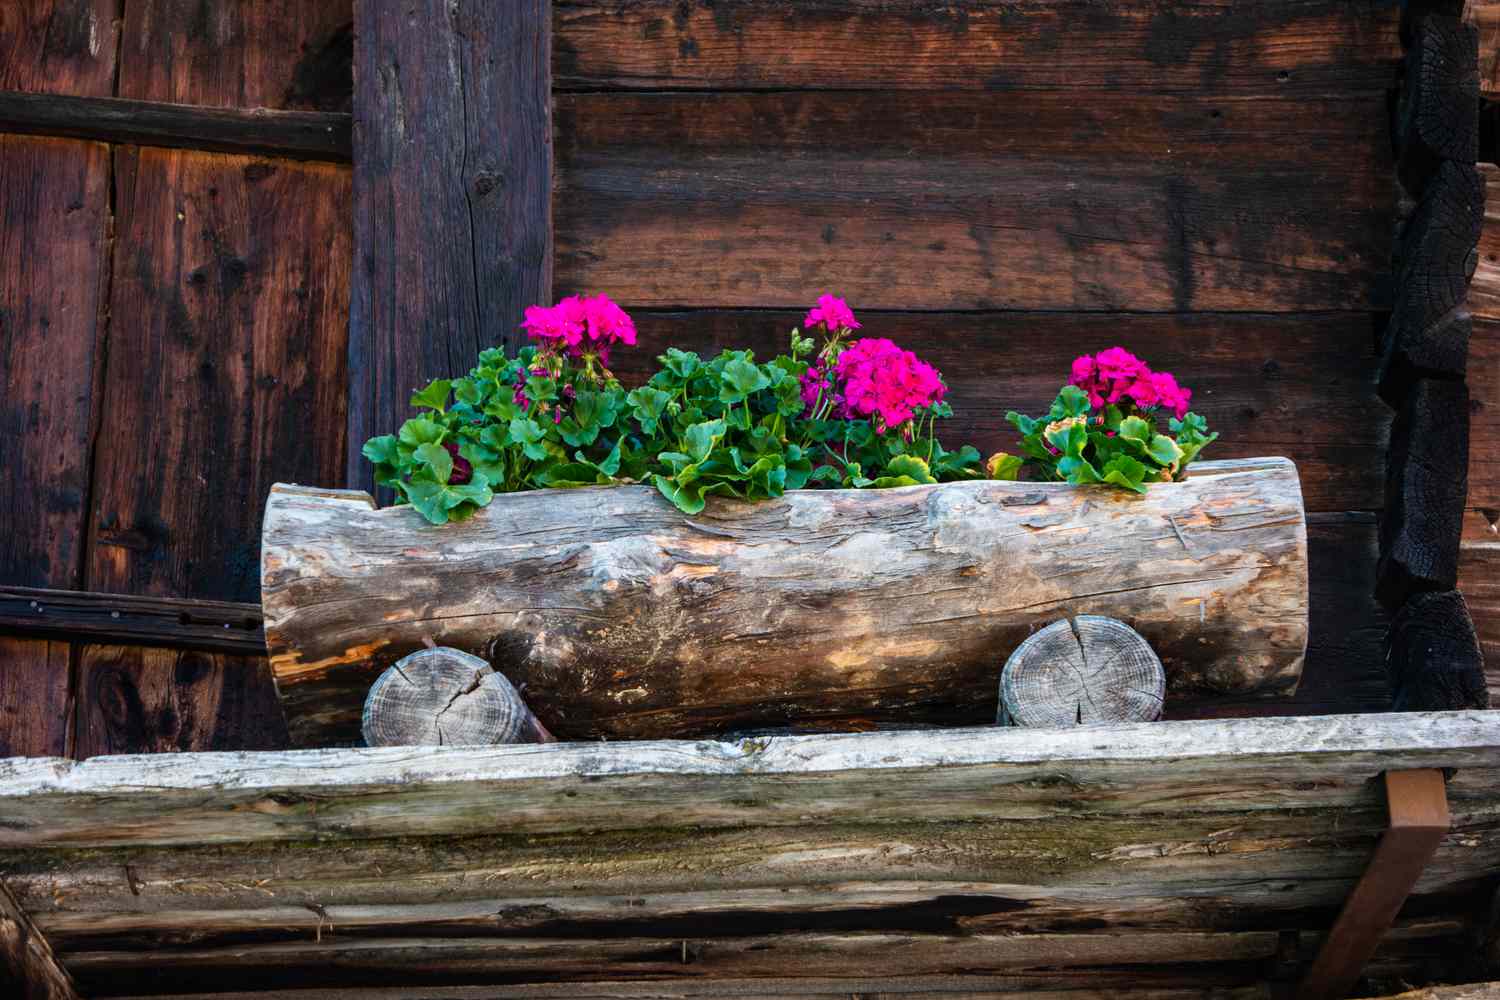
Transforming old logs into a charming garden planter is a fantastic way to add character and eco-friendliness to your outdoor space. This do-it-yourself project allows you to repurpose unused logs, providing them with a new purpose and giving your garden a rustic touch. In this step-by-step guide, we will show you how to craft a delightful garden planter from old logs, bringing nature and creativity together in perfect harmony.
Materials Needed:
1. Old logs (preferably hardwood) – make sure they are in good condition without signs of rot or insect damage.
2. Measuring tape
3. Saw (handsaw or chainsaw)
4. Drill
5. Wood screws
6. Plastic lining or planter box liner
7. Potting soil
8. Plants of your choice
Step 1: Selecting the Perfect Logs
Begin by carefully choosing suitable logs for your planter project. Look for logs that are sturdy, have a uniform shape, and are free from any decay or weaknesses. Opt for hardwood logs for enhanced durability and longevity.
Step 2: Measuring and Cutting
Measure the logs to determine the desired length for your planter. You can create various sizes and shapes based on your preferences. For a rectangular planter, aim for lengths of approximately 2 feet. Use a saw to cut the logs carefully along the marked lines. Always prioritize safety by wearing appropriate protective gear.
Step 3: Drilling Drainage Holes
To ensure proper drainage for your plants and prevent waterlogged roots, use a drill to create several drainage holes in the bottom of each log.
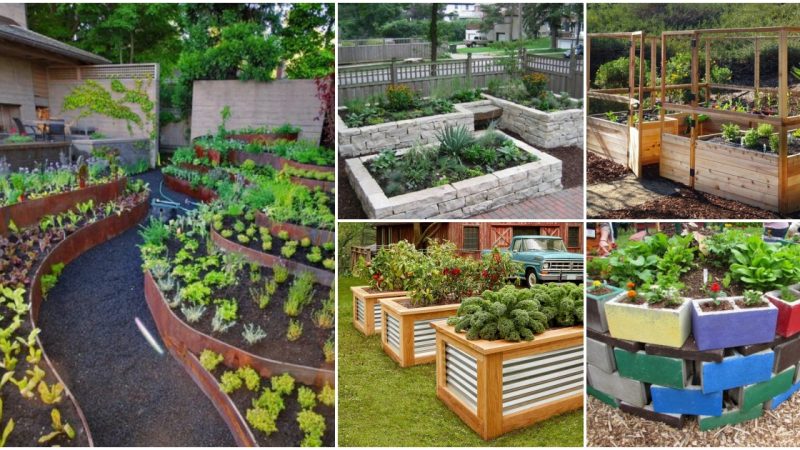
Step 4: Assembling the Planter
Lay out the cut logs to form the walls of your garden planter. Arrange them in your preferred shape, such as a rectangular or square configuration. Secure the logs together at the corners using wood screws, ensuring a snug and sturdy fit.
Step 5: Adding the Lining
To protect the logs from excessive moisture and extend the planter’s lifespan, line the interior with a plastic liner or planter box liner. Trim the liner to fit perfectly inside the planter, ensuring it covers the entire inner surface.
Step 6: Filling the Planter
Fill the planter with nutrient-rich potting soil, leaving enough space for your plants to thrive. Consider mixing in some compost to enhance the soil’s fertility.
Step 7: Planting Your Garden
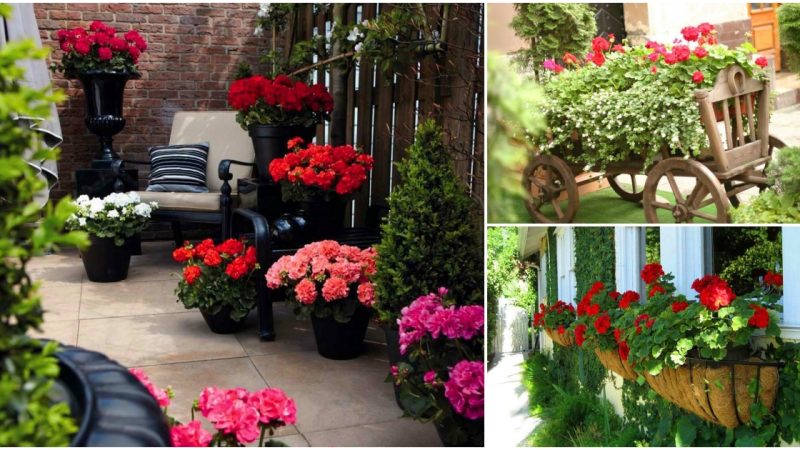
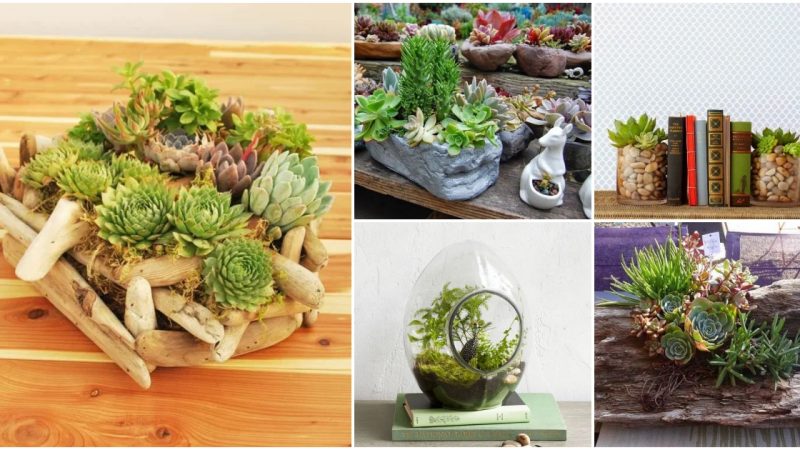
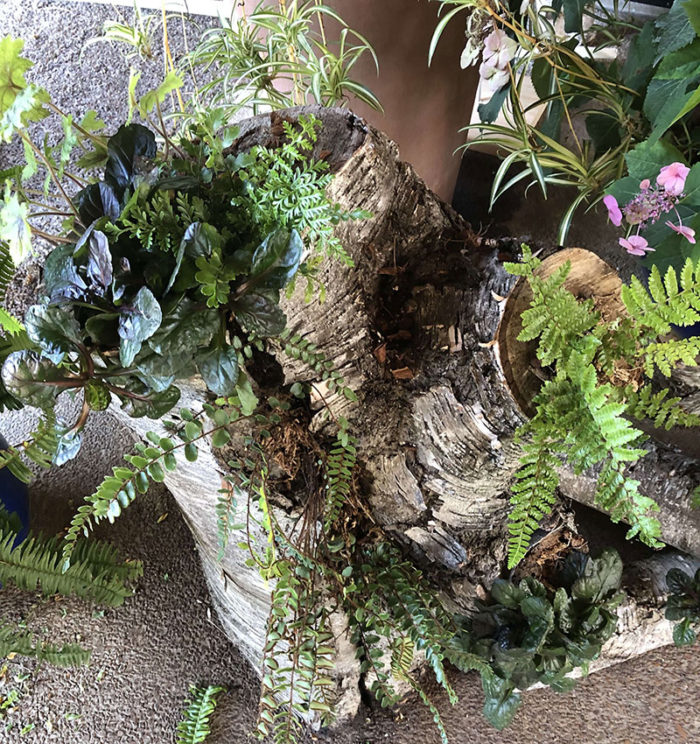
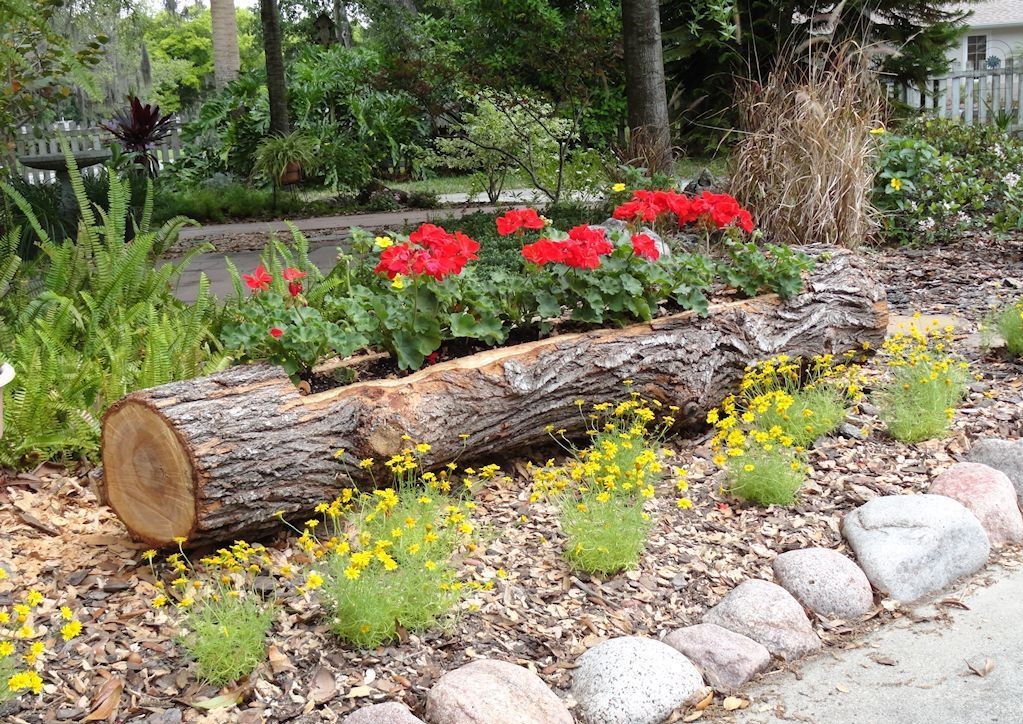
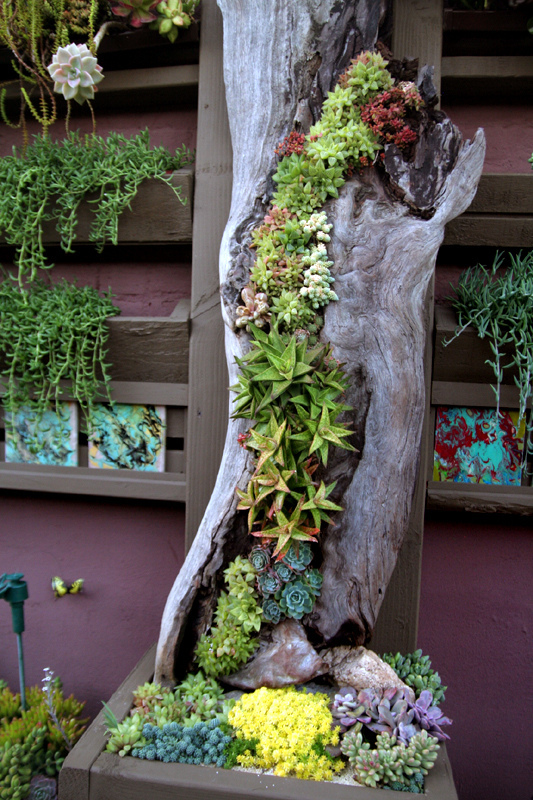
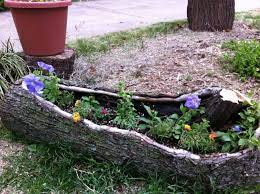
Now comes the exciting part! Choose your favorite plants or flowers and carefully plant them in the planter. You can opt for a mix of colorful flowers, fragrant herbs, or even small shrubs to create a captivating display.
Step 8: Maintenance and Care
Regularly water your plants according to their specific needs and provide adequate sunlight. Keep an eye on the moisture level in the planter to prevent overwatering or drying out.
Crafting a charming garden planter from old logs is a gratifying project that not only showcases your creativity but also contributes to sustainable practices. By upcycling materials, you not only add beauty to your garden but also play your part in preserving the environment. Get ready to enjoy the rewards of your labor as your garden blooms and thrives in its new rustic home. Happy gardening!